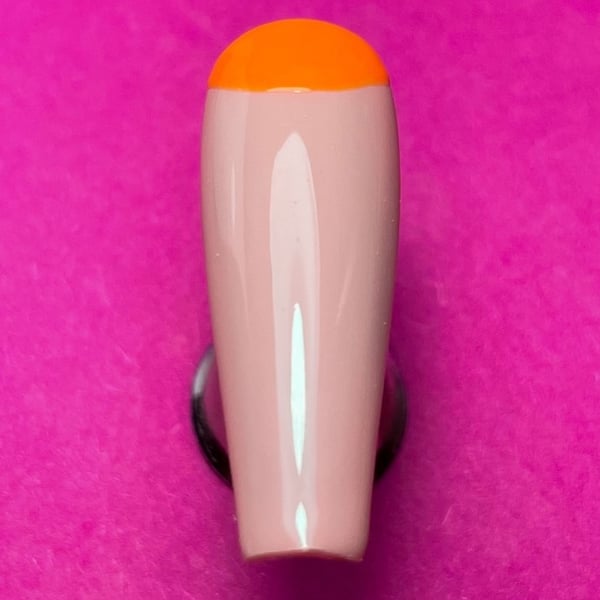
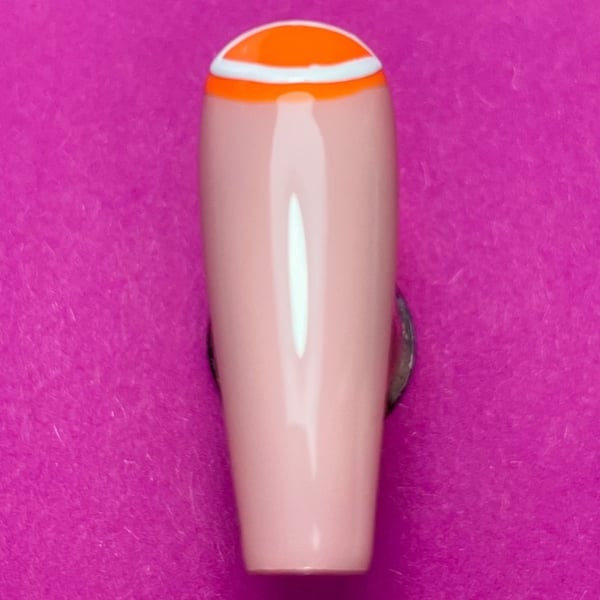
1. Here is a simple and quick tutorial that you can integrate into your everyday studio life. Let's go Orange! Prepare the nail and put up 2 layers of P+ Gel Polish A Mothers Memories. Cure each layer and seal with Super Shiny Top Coat. Cure this one as well and remove the sticky layer. Draw a nice curve with Neon Orange from the Neon Gel Paints at the cuticle line and fill it with the color. Seal again with Super Shiny Top Coat and cure each layer in the LEDdot Lamp.
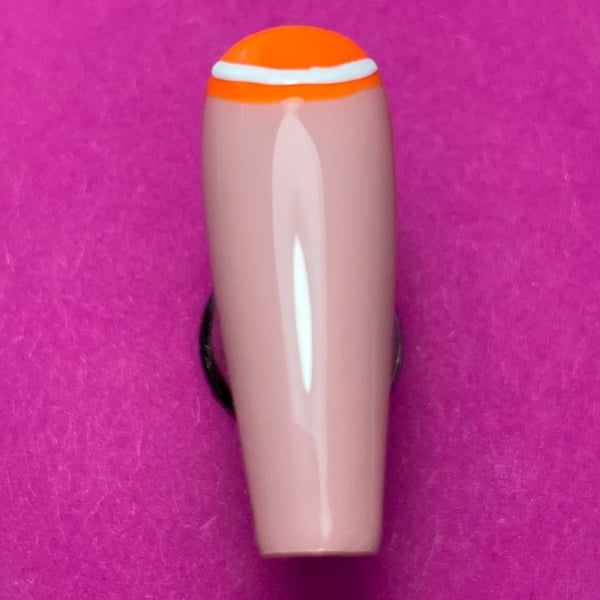
2. Draw a curved line in the lower part of the orange with Just White ButterCream color gel. Do not cure yet. The reason is that the transitions of the colors would become bumpy and uneven.
3. Place another white line with Just White close to the cuticles. We still don’t want to cure yet.
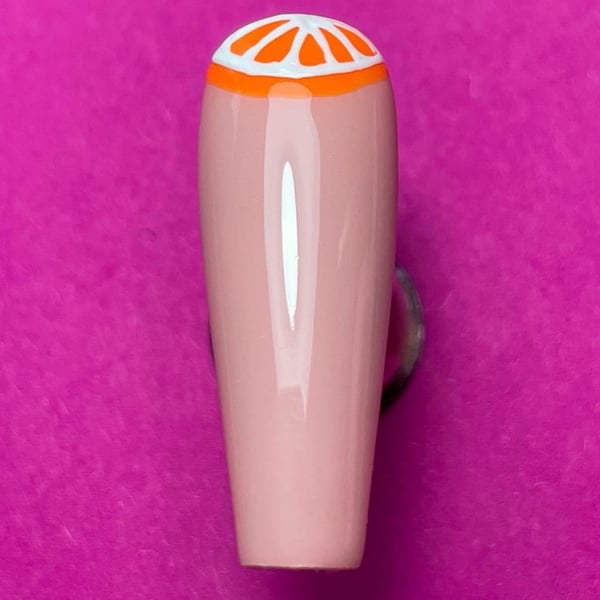
4. Now, starting from the center, draw small curves from top to bottom. Round the corners a little so get small triangles of orange. You like the result? But we still don’t cure 😆
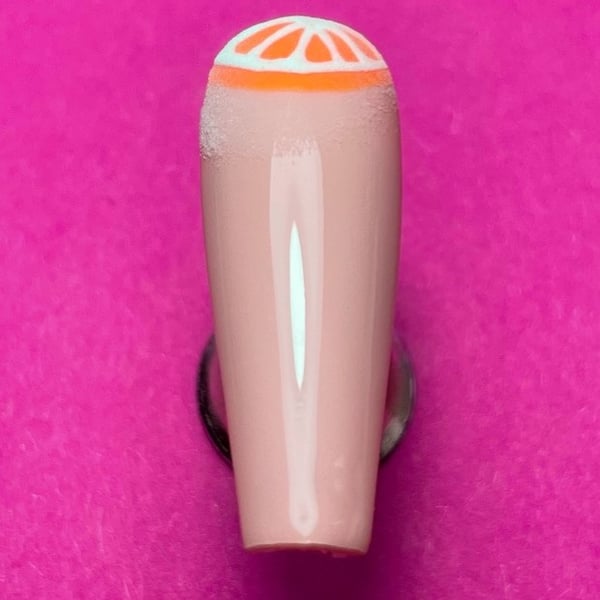
5. Sprinkle clear acrylic powder from Apex on the orange. And now finally you can go under the LEDdot lamp
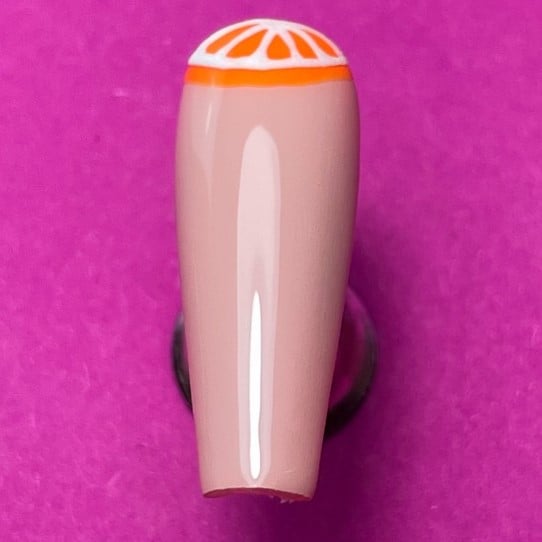
6. Dust away the acrylic powder and enjoy the orange design 🍊
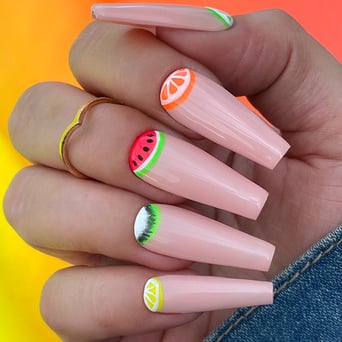
Do you prefer melons over oranges? See the guide here!