CND™ VINYLUX™ Long Wear Polish
Application & Removal
30 Min - The CND™ VINYLUX™ Long Wear Polish System provides seven-day wear, chip-resistant color and gel-like shine. It is infused with a with unique caring complex of Keratin, Jojoba Oil and Vitamin E for beautifully cared-for nails every time.
Application:
STEP 1: P.E.P. - Natural Nail Preparation (No Buffing)
For more detailed information see the CND P.E.P. Technique Step-by-Step.
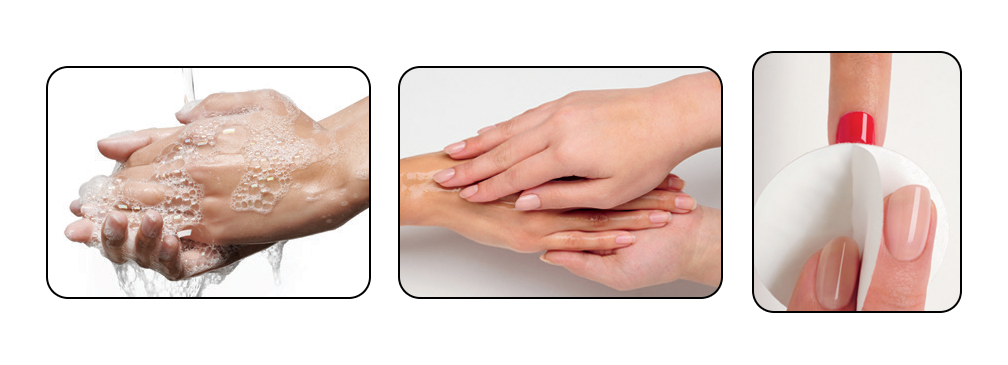
1. P - Perform a manicure.
a. Have the client wash their hands with soap and water and towel dry.
b. Massage COOLBLUE™ Hand Cleanser into the client’s hands to cleanse skin.
c. Remove any existing nail color from the natural nail using an acetone-based polish remover (OFFLY FAST™ Moisturizing Remover) and a plastic-backed, lint-free pad.
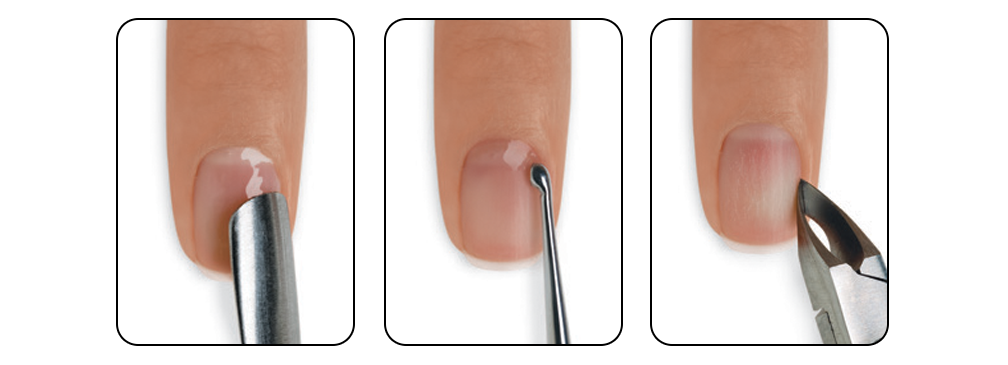
d. If necessary, trim the length from each nail, using nail clippers.
e. Shape the nail edge (tip of the nail) with a soft grit Kanga™ File or Koala Buffer™.
f. Apply a small amount of CuticleAway™ Professional Cuticle Remover evenly around the cuticle of each nail.*

g. Gently slide a cuticle pusher along the nail plate to lift cuticle.
h. Remove any excess CuticleAway™ from the nail and use a curette to remove cuticle.
i. Clean with soap and water, rinse and towel dry.*
j. Use a manicure nipper to carefully remove any loose pieces of skin or hangnails. Use a gentle touch and never cut skin as it can lead to infection.
2. E – Eliminate surface contaminants, dust, lint or skin and P – Purify nail plate layers.
a. Cleanse and temporarily dehydrate the nail plate with SCRUBFRESH™ Nail Surface Cleanser and a plastic-backed, lint-free pad. Pull back the skin and scrub the nail as if removing red nail polish.

STEP 2: CND™ VINYLUX™ Long Wear Polish Application*
Enhance service and speed with the CND 5 Point Polish Method – an easy, systematic approach for polish perfection that will bring out the best in CND™ VINYLUX™. (For more detailed information see the CND 5 Point Polish Method Step-by-Step.)
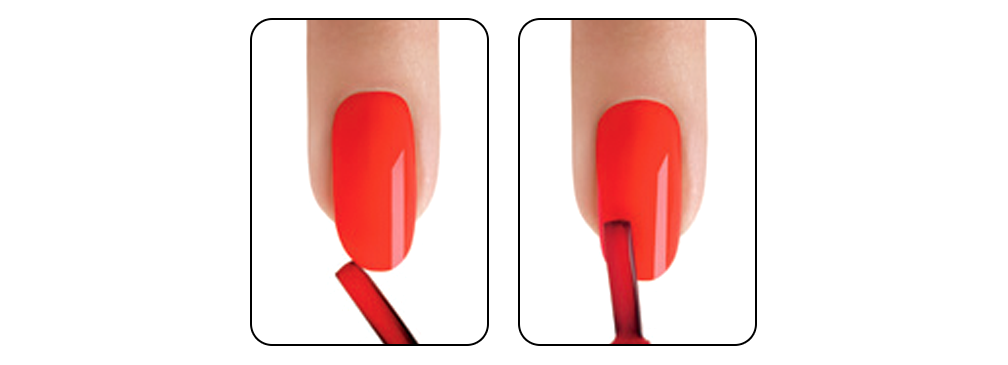
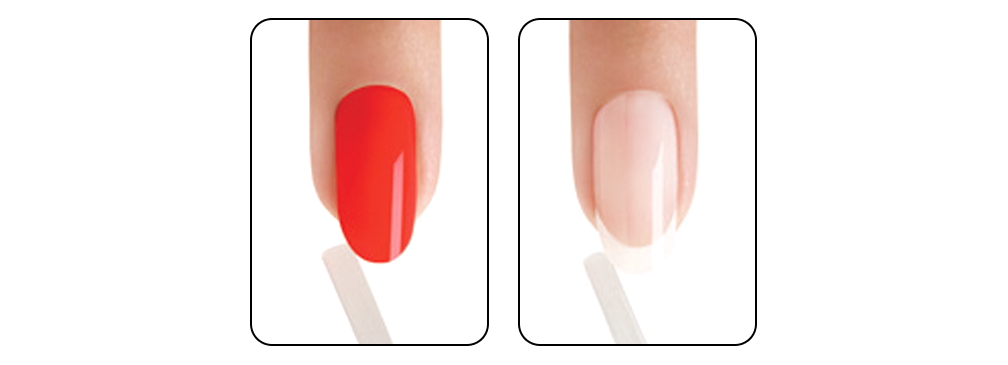
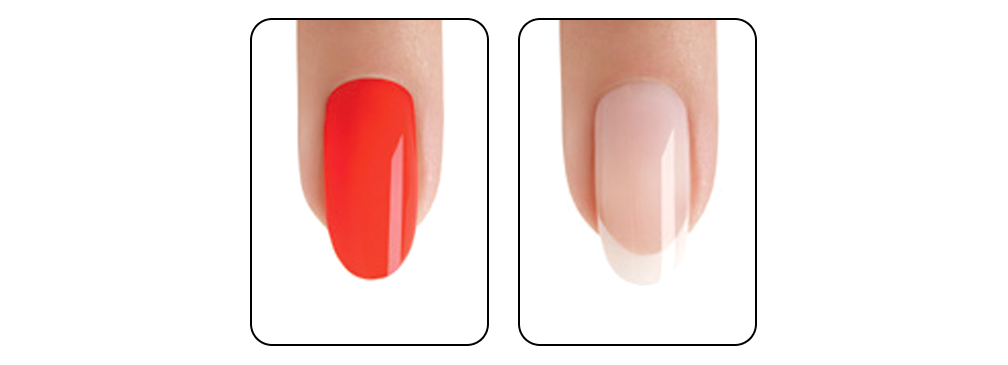
Solid Color:
1. Shake vigorously to blend.
2. Apply one thin layer of CND™ VINYLUX™ Color Coat to extension edge and nail surface.
3. Apply a second thin layer of Color Coat to the nail surface. The second layer will provide additional coverage and color, refining and perfecting the tiny free margins with each layer.
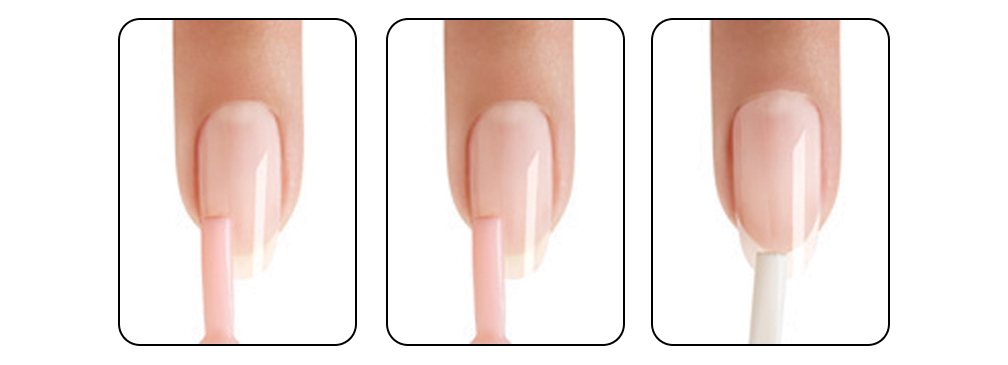
French Manicure:
1. Shake vigorously to blend.
2. Apply one thin layer of the chosen pink color to the extension edge and nail surface.
3. Apply a second thin layer of CND™ VINYLUX™ Color Coat to the nail surface. The second layer will provide additional coverage and color, refining and perfecting the tiny free margins with each layer.
4. Apply a thin layer of white to the extension edge and tips of the nails in an arched smile line to flatter the nail shape. Carefully detail with the CND™ ProSeries Gel Flat Oval Brush lightly moistened with SCRUBFRESH™ to perfect the smile line.
STEP 3: CND™ VINYLUX™ Long Wear Polish Top Coat Application
1. Shake to blend.
2. Apply one thin layer of CND™ VINYLUX™ Top Coat to each extension edge and nail surface.
3. After one minute, spray nails with SOLARSPEED SPRAY™ Quick Dry Spray to speed up dry time.
Removal:
STEP 1: CND™ VINYLUX™ Long Wear Polish Removal
1. Have the client wash their hands with soap and water and towel dry.
2. Massage COOLBLUE™ into the client’s hands to cleanse skin.
3. Saturate a plastic-backed, lint-free pad with OFFLY FAST™. Place pad on the nail plate only and hold for five seconds.
4. Use firm pressure along with a circular motion to remove the color from the nail plate. Be sure to concentrate the pad on the nail and avoid the surrounding skin.
5. Rub the nail with a plastic-backed, lint-free pad saturated with OFFLY FAST™ to remove any residue.
PRODUCTS REQUIRED
• COOLBLUE™ Hand Cleanser
• OFFLY FAST™ Moisturizing Remover
• CuticleAway™ Professional Cuticle Remover
• SCRUBFRESH™ Nail Surface Cleanser
• CND™ Files and Buffers
• CND™ ProSeries Gel Flat Oval Brush #6
• RIDGEFX™ Nail Surface Enhancer*
• CND™ VINYLUX™ Long Wear Polish Color Coat
• CND™ VINYLUX™ Long Wear Polish Top Coat
• SOLARSPEED SPRAY™ Quick Dry Spray
ACCESSORIES/EQUIPMENT REQUIRED
• Hand towels
• Hand soap
• Plastic-backed, lint-free pads
• Disinfectable scrub brush*
• Cuticle pusher
• Manicure nippers
• Nail clippers
• Curette
* Optional
CND™ 5 Point Polish Method
Enhance service and speed with a streamlined and consistent application method for any color service. The CND™ 5 Point Polish Method is an easy, systematic approach for polish perfection.
TIPS:
When using CND™ VINYLUX™ Long Wear Polish and CND™ CREATIVE PLAY™ Nail Polish, lighten the touch and float the brush over the surface of the nail; with CND™ SHELLAC™ and CND™ CREATIVE PLAY™ Gel Polish, intensify the touch and flatten the brush to the nail keeping all layers thin and even.
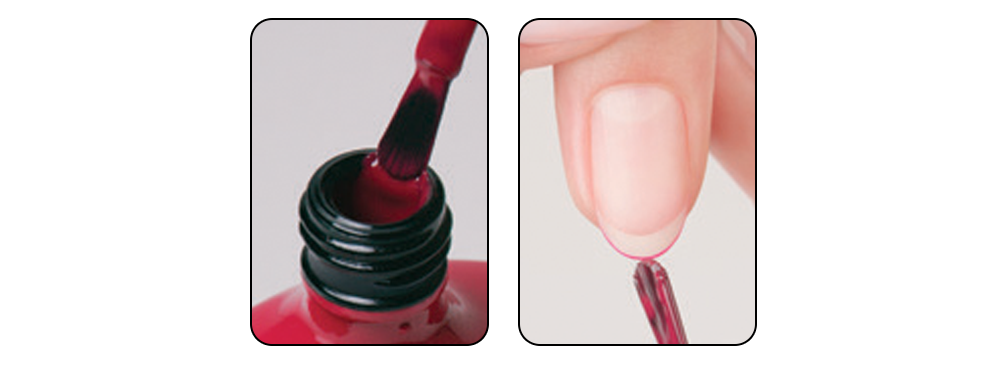
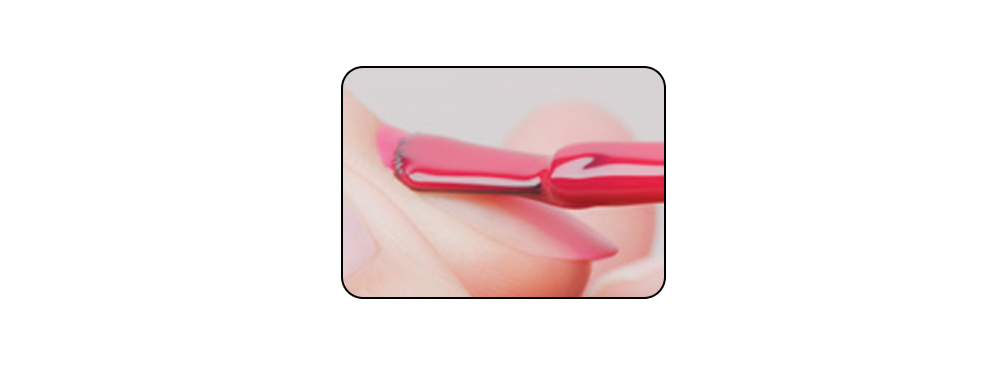
STEP 1: SEAL THE EDGE
Sealing the edge of the nail first eliminates product build-up during service and provides a perfect seal, even on the shortest nails.
1. Prepare the brush for application.
a. Pull coated brush from bottle. Wipe both sides on neck to remove excess polish while flattening brush hairs on both sides.
2. Seal the edge.
a. Holding client’s finger, gently push finger pad away from nail. This will help prevent getting product on skin.
b. With the flattened brush, a thin line of color along the free edge of the nail to seal and ensure complete coverage.
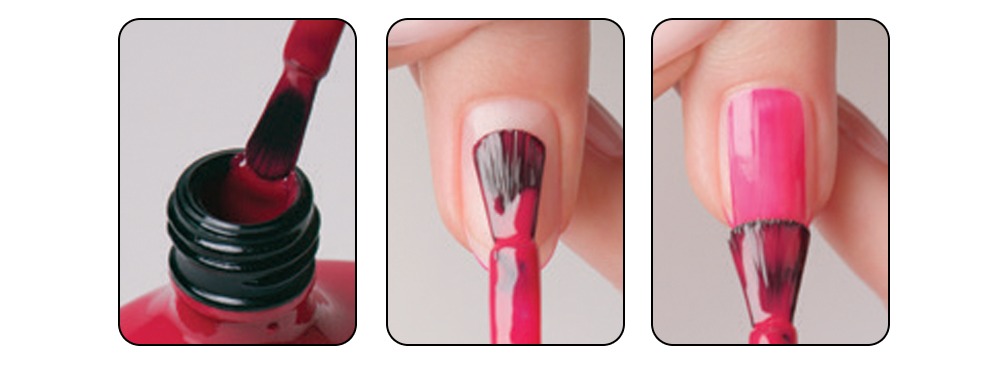
STEP 2: BEAD IN THE MIDDLE
Placing the brush in the center of the nail first eliminates flooding the cuticle line with polish and provides precise application and coverage.
1. Prepare the brush for application.
a. Pull brush from bottle scooping a small bead onto one side. Flatten and drain other side on bottle's neck.
2. Place bead in center of nail, and glide it down to the free edge.
a. Lift brush up, angle finger down and ease brush towards cuticle line, putting slight pressure on brush. This technique allows the brush to fan out for precise application while leaving a tiny free margin for a clean, even line.
b. Glide brush towards free edge to complete center coverage.
STEP 3: ROTATE RIGHT
Note: Do not re-dip the brush. The bead created in the previous step should be large enough to coat the entire nail.
1. Rotate finger right, and pull back lateral fold so left side of nail is clearly visible.
a. Using left side of brush, apply color over left side of nail, following contour of sidewall as closely as possible from cuticle line to free edge.
STEP 4: ROTATE LEFT
1. Rotate finger left, and pull back lateral fold so right side of nail is clearly visible.
a. Using right side of brush, apply color over right side of nail, following contour of sidewall as closely as possible from cuticle line to free edge.

STEP 5: REPEAT & REFINE
The second color layer will provide additional coverage and color, refining and perfecting the tiny free margins with each layer.
1. Repeat and refine with each layer.
a. Seal extension edge using exact same steps for remaining layers.

PRODUCTS REQUIRED
CND™ SHELLAC™ Gel Polish*
• Base Coat
• Color Coat - Top Coat
CND™ VINYLUX™ Long Wear Polish*
• Color Coat
• Top Coat
CND™ CREATIVE PLAY™ Gel Polish*
• Base Coat
• Color Coat
• Top Coat
• 99% Isopropyl Alcohol
ACCESSORIES/EQUIPMENT REQUIRED
• CND™ LED Lamp*
• Hand towels
• Plastic-backed, lint-free pads
* Optional