BRISA™ Gel Enhancements Natural Nail Overlay
Step 1: P.R.E.P.
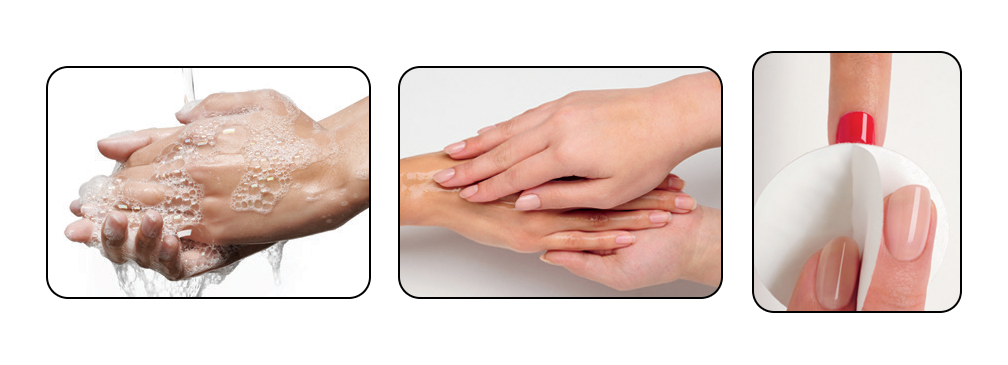
1. P - Perform a manicure
a. Have the client wash their hands with soap and water and towel dry.
b. Massage COOLBLUE™ Hand Cleanser into the client’s hands to cleanse skin.
c. Remove any existing nail color from the natural nail using an acetone-based polish remover (OFFLY FAST™ Moisturizing Remover) and a plastic-backed, lint-free pad.*
d. If necessary, trim the length from each nail, using nail clippers.
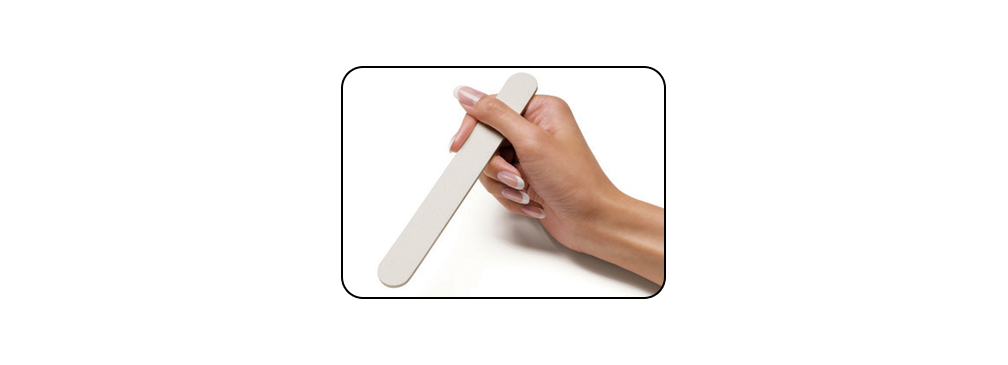
e. Shape the extension edge of each nail with the 240-grit side of Kanga™ File or Koala Buffer™.
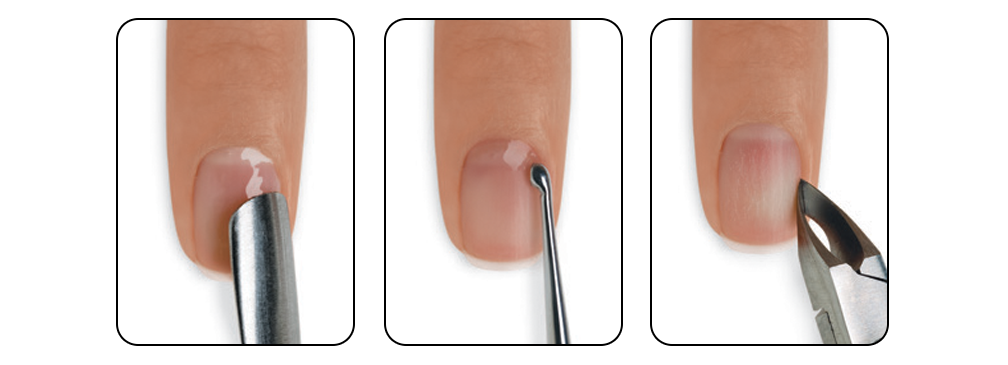
f. Apply a small amount of CuticleAway™ Professional Cuticle Remover evenly around the cuticle of each nail.**

g. Gently slide a cuticle pusher along the nail plate toward the cuticle area and along the lateral folds to lift and loosen any non-living tissue from the nail plate. Remove any excess CuticleAway™ from the nail and use a curette to remove non-living tissue up to the eponychium and lateral folds.
h. Scrub nails thoroughly with soap and a damp brush, then rinse with warm water to remove the cuticle remover and soap; towel dry.**
i. Use a manicure nipper to carefully remove any loosened, non-living tissue, as well as any loose pieces of skin or hangnails. Use a gentle touch during cuticle removal to protect the seals. Never cut living tissue as it can lead to infection.
* Dry P.R.E.P. is an excellent option for clients with great natural nails, who do not build excessive cuticle between services. Eliminating the wet cuticle treatment can shorten the service time and increase adhesion for some clients.
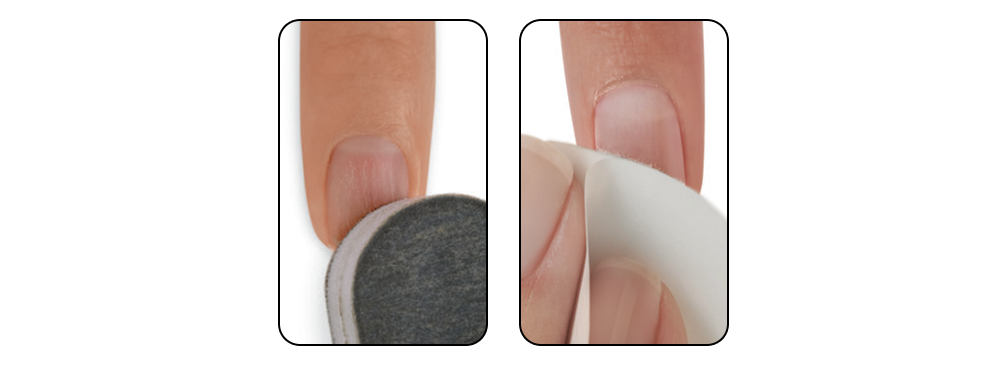
2. R – Remove shine from the natural nail surface with the 240-grit side of the Koala Buffer™ in the direction of nail growth.
3. E – Eliminate surface contaminants and P – Purify nail plate layers.
a. Thoroughly cleanse and temporarily dehydrate the nail plate layers with SCRUBFRESH™ using a lint-free, plastic-backed pad. Gently pull lateral folds back and scrub thoroughly to be sure all areas of the nail are completely clean.
STEP 2: Apply BRISA™ Bond
1. Apply one thin layer of BRISA™ Bond to the natural nail plate of 2-3 nails at a time ensuring that the brush has enough liquid to thoroughly and evenly cover each nail. Repeat this step until all nails are thoroughly and evenly coated.
Remember: When applying BRISA™ Bond, do not touch the skin or allow the product to flood the cuticle area.
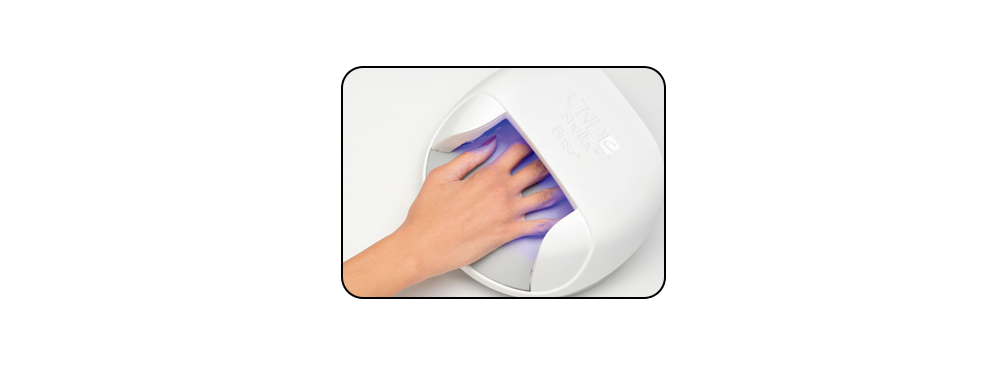
2. Apply to five nails and cure each hand for 10 seconds (preset button 1) in the CND™ LED Lamp. Do not remove the top film after removing the nails from the lamp.
STEP 3: Create a Base Layer (optional)
This step will ensure proper adhesion and can prevent service breakdown. Implement when needed.
1. Apply a thin layer of BRISA™ Clearor Pure Pink - Sheer Sculpting Gelin all three Zones to the natural nail.
2. Apply to five nails and cure each hand for one minute (preset button 2B) in the CND™ LED Lamp.* Do not remove the top film after removing the nails from the lamp.
STEP 4: Zones 1, 2 & 3 - Smile Line, Apex, Upper Arch and Cuticle Area
1. Place a scoop of BRISA™ Gel onto the center of the nail (Zone 2) and guide the product from side to side, keeping the bulk of the gel in the vertical center of the nail. Brush a thin, even layer of gel toward extension edge (Zone 1). Then encase the extension edge to ensure long wear.
2. Gently ease the gel back toward the cuticle area (Zone 3), leaving a tiny free cuticle margin.
3. Apply to five nails and cure each hand for one minute (preset button 2B) in the CND™ LED Lamp.* Do not remove the top film after removing the nails from the lamp.
STEP 5: Perfect the Shape (optional)
This step will reinforce the enhancement and can prevent service breakdown. Implement when needed.
1. Apply a thin layer of BRISA™ Clear Sculpting Gel over the entire nail to perfect the shape.
2. Fill in low spots by taking a tiny scoop onto your brush. Touch the product to one side of the low spot and lift up to create a thin strand of product. Pull this strand of gel across the nail and touch to the other side. Lift off, and allow the gel to self- level, filling in the low spot.
3. Apply to five nails and cure each hand for one minute (preset button 2B) in the CND™ LED Lamp.*
STEP 7: Creating a Smile Line With BRISA™ Paint
1. Remove brush from bottle and wipe excess gel from back of brush by dragging along the neck of the bottle.
2. Paint on smile line consistent with polishing French Manicure application techniques.
3. Detail the smile line with a Gel Flat Oval Brush cleansed with 99% Isopropyl Alcohol.
4. Apply to five nails and cure each hand for one minute (preset button 2B) in the CND™ LED Lamp.* Do not remove the top film after removing the nails from the lamp.

STEP 8: Apply BRISA™ Gloss
1. Apply a thin layer of BRISA™ Gloss using the CND 5 Point Polish Method to the extension edgeand nail surface of all five nails on one hand. (For more detailed information see the CND 5 Point Polish Method Step-by-Step.)
2. Apply to five nails and cure each hand for one minute (preset button 3) in the CND™ LED Lamp.*
3. Remove the top film with 99% Isopropyl Alcohol and a plastic-backed pad.
4. Massage SOLAROIL™ Nail & Cuticle Care into the nails and skin.
* If using the CND™ UV Lamp, cure for two minutes.
PRODUCTS REQUIRED
• COOLBLUE™ Hand Cleanser
• OFFLY FAST™ Moisturizing Remover
• CuticleAway™ Professional Cuticle Remover
• SCRUBFRESH™ Nail Surface Cleanser
• CND™ Files and Buffers
• CND™ ProSeries Gel Flat Oval Brush #6
• BRISA™ Bond
• BRISA™ Sculpting Gels
• BRISA™ Gloss
• BRISA™ Paint
• SOLAROIL™ Nail & Cuticle Care
ACCESSORIES/EQUIPMENT REQUIRED
• CND™ LED Lamp
• Hand towels
• Hand soap
• Plastic-backed, lint-free pads
• Disinfectable dust brush*
• 99% Isopropyl Alcohol
• Cuticle pusher
• Manicure nippers
• Nail clippers
• Curette
* Optional