It is essential that you know the correct curing times for all products you use in your studio. Also with CND Shellac™ it is important to know the right times to prevent over- and undercuring. Only a fully cured product is safe for the customer and guarantees a long-lasting result.
The most frequently asked questions about the curing of CND Shellac™ can be found here:
What does shaking Shellac™ have to do with curing and why does Shellac™ have to be shaken before the application?
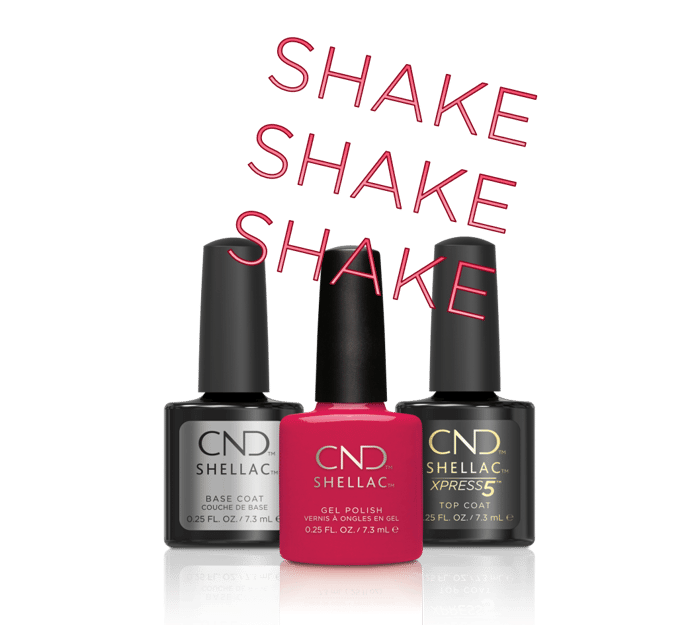
- The different Shellac™ color coats must be shaken thoroughly before painting.
- Base Coat and Top Coat must be shaken briefly but vigorously.
- Colors that are in frequent use need to be shaken for 30 seconds.
- New colours and colours that have not been in use for a longer period of time, must be shaken for up to 3 minutes.
Shaking the product thoroughly ensures, that all the ingredients are well mixed and can allow Shellac™ to cure completely! So if you don't shake your colours enough, your Shellac™ manicure may not cure properly.
Can Shellac™ also be cured in a LED or UV lamp that is not manufactured by CND™?
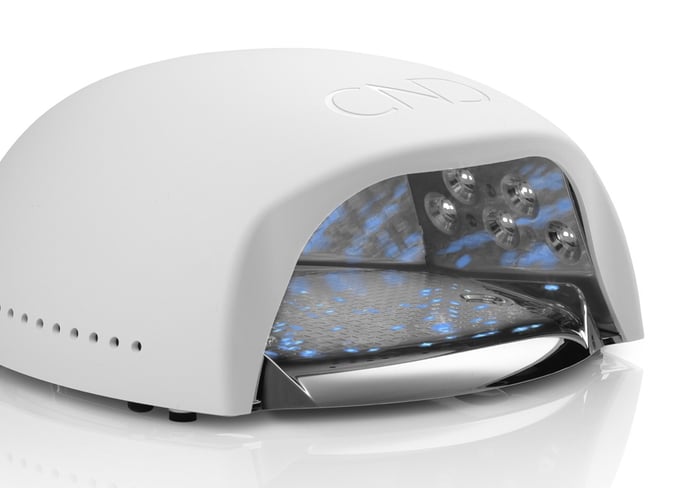
- If you cure Shellac™ with a lamp that is not part of the CND™ system, you risk under-curing and over-curing the product. Both can lead to complaints and permanent issues.
- The CND™ LED lamp has the appropriate preset for each product step. Cure Base Coat with button 1, color coat with 2S and Top Coat with button 3. Simple and safe!
- If the customer is very sensitive or if you have applied the product too thickly, it is possible that the customer feels some heat during curing.
- If Shellac™ wrinkles during curing, you have either cured with the wrong lamp or worked with too thick layers.
Tip:
If you have bumps or scratches in the coating after curing because the customer has hit their hand inside the lamp, you need to analyze how big the damage is. There are two options to fix it.
Remove Shellac™ and start the application again.
OR
Work to the end (including Top Coat), remove the sticky layer and carefully buff the area with a soft buffer file. In most cases this is enough and allows you to apply the Top Coat again. But you can also add a thin layer of color coat if you wish.
What are the differences between the Top Coats? How do I know which one to choose?
- Xpress5 Top Coat is suitable for customers with strong, healthy nails and minimal activities in their lifestyle.
- Original Top Coat suits normal to slightly damaged nails.
- DURAFORCE™ Top Coat is the most protective Top Coat and is used exclusively for damaged, soft and weak nails.
Effect Top Coats have the same amount of protection as Xpress5™. If a customer needs more protection to her manicure, apply Original Top Coat and cure and then apply the Effect Top Coat of your choice. - After curing the Top Coat, you have to remove the stickey top film. This can only be done with 99% isopropyl alcohol. We recommend TopFinish Cleanser.
Note:
Although the DURAFORCE™ Top Coat has a thicker viscosity, the treated nails do not look thicker than with other Top Coats. If Xpress5 or Effect Top Coat has a slightly yellow tint to it, worry not – it will disappear during curing. The yellow tint comes from the photoinitiators, which are slightly yellowish in colour.
Would you like to learn more about CND™?
At Insight Cosmetics Group, we have a variety of contact and training options available to you as a professional beauty therapist.
- Call us under (DK) +45 3332 3322.| (DE) +49 (0) 221 920 490 | (AT) +43 (0) 720 881 062 | (CH) +41 (0) 415 880 432 | (SE) 08-40 83 82 33 | (FI) 09 31579233
- Feel free to write us an email to info@icgroup.dk.
- Discover the free e-learning app and take part in one of our exciting CND™ e-learning training courses