Enhancement with Builder over a form
The perfect service for natural nails that require a medium to long length.
Step 1
PERFORM A P.R.E.P MANICURE
Step 2
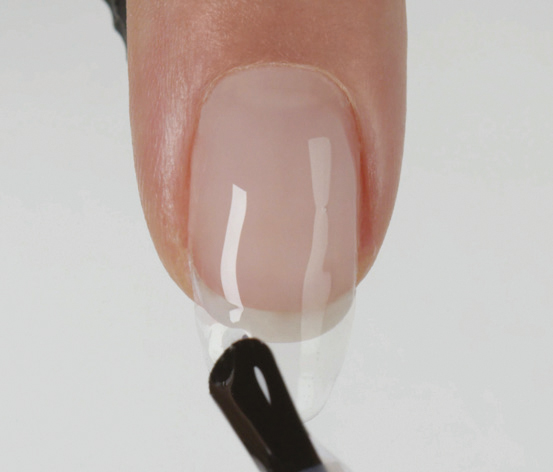
APPLY CND™ PLEXIGEL BONDER
1. Gently roll the bottle to mix the contents.
2. Apply a thin layer of CND™ PlexiGel Bonder to all five nails and seal the edge after each application. Always keep a distance from the nail edge and avoid touching the skin.
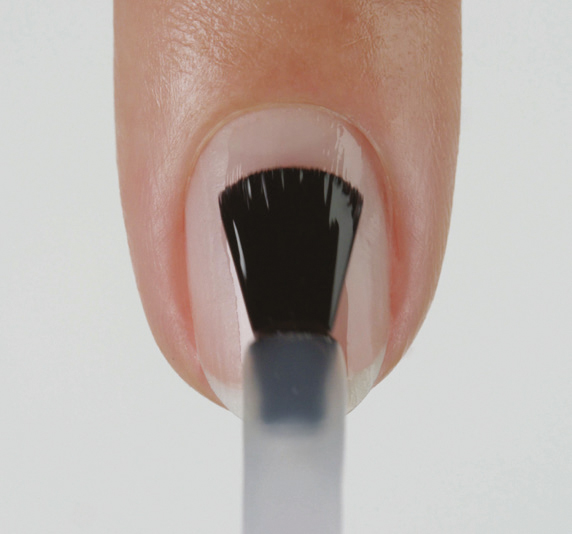
3. Cure for 10 seconds in the CND™ LED lamp using button 1. Do not remove the sticky layer.

Step 3
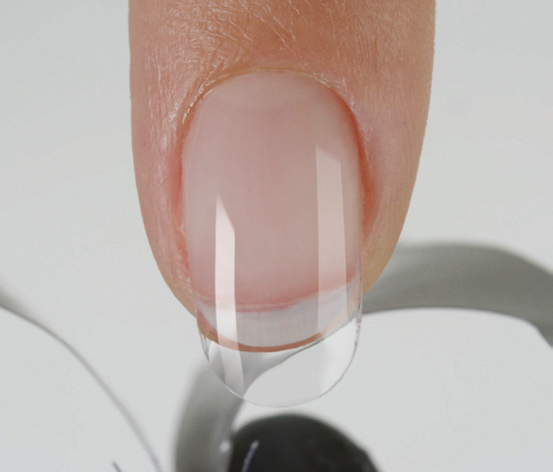
ATTACH FORM
1. Prepare the template by cutting the back tab to allow symmetrical placement on the finger.

2. Shape the template into a gentle C-curve by holding the lower tabs and rolling the shape back and forth until the C-curve mimics the natural nail.
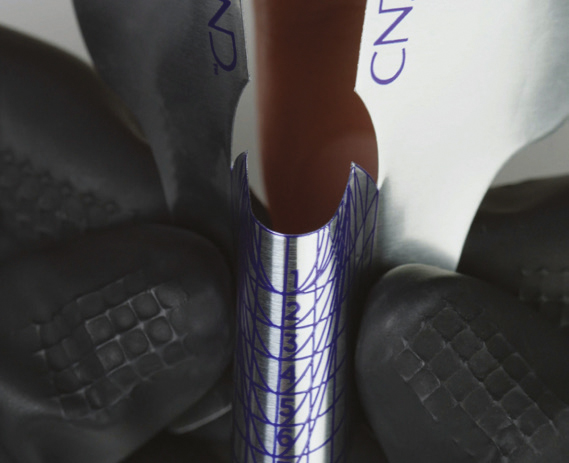
3. Place the template under the free edge of the nail and press along the sides to see where the side wall of the nail meets the template.
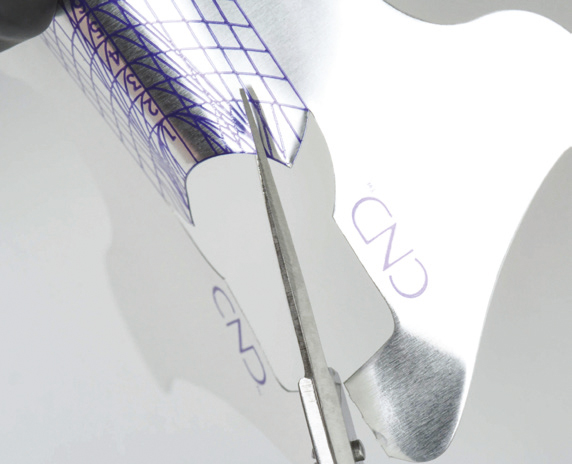
4. Remove the mould and use nail scissors to pre-cut the mould if necessary. Cut the sidewall line back to the cat's ear opening.
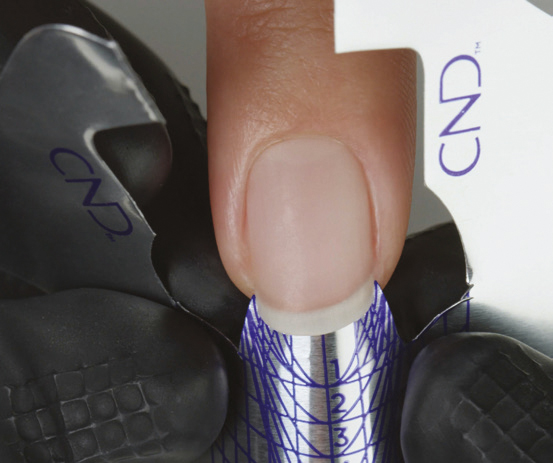
5. Place the mould under the free edge of the nail and make sure it is tight against the free edge. This prevents the product from "seeping" under the nail during modelling.
6. Press the front flaps together and push the flaps up towards the nail to create a perfect fit, making sure the lines of the side panels are straight and aligned with the nail.
7. Cut off the excess tabs below the finger to ensure the correct distance between the hand and the bulbs of the CND™ LED lamp.
Step 4
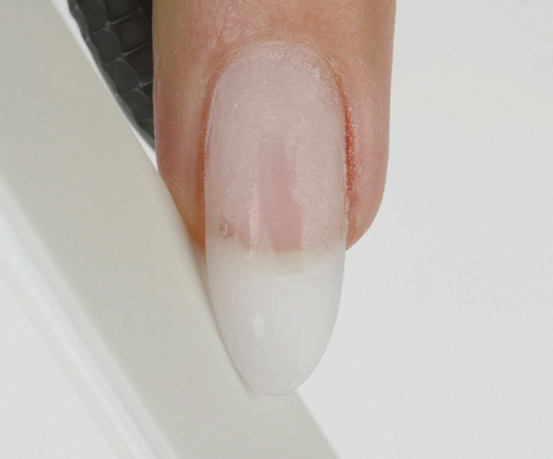
APPLY CND™ PLEXIGEL BUILDER
OPTIONAL: For customers with heat-sensitive nails, apply a thin layer of CND™ PlexiGel Shaper to the natural nail and cure for one minute in the CND™ LED lamp with the 2B button.
1. Apply a thin, even layer of CND™ PlexiGel Builder to the natural nail.
2. Apply a drop of gel to the template to create the desired length and shape.
a. Use the tip of the brush to bring the gel into zone 2.

b. Harden the layer for 2-3 pulses in the CND™ LED lamp on button 1. Repeat for the remaining nails.
3. Remove the stencil and cure the layer for one minute with the 2B key.
4. Apply a second coat of Builder to sculpt the shape and appearance.
a. Apply the gel in the vertical centre of the nail and taper it on both sides. Make springy movements to do this.
b. Use gravity by turning the finger around to further define the apex.
c. Harden as needed to prevent the gel from running and to control the heat sensation on the nail.
5. Cure for one minute with key 2B.

6. Fill in all the lower areas. Touch the tip of the brush to the indentation and lift the brush to create a thin line of product. Pull it over the indentation and seal it on the opposite side. The gel levels itself.
7. Cure for one minute with key 2B.
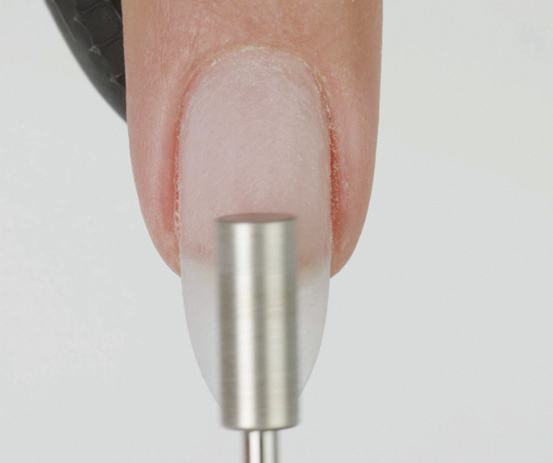
Step 5
PERFECT THE SHAPE (optional)
1. If perfecting the shape is required, remove the top, sticky layer with a pad soaked in 99% isopropyl alcohol (Top Finish Cleanser).
2. Buff the surface of the nail by smoothing out any unevenness with a 180 file or a buffer (Boomerang Padded File or Blizzard™ File).
Optional: Use a medium grit diamond bit with ½ speed.
a. Shape and define the left side of the nail
b. Shape and define the right side of the nail
c. File zone 3 to work out the C-curve
d. Refining and blending towards the cuticle
e. Refine and smooth apex
f. Shape the front and refine the lower bows
3. Remove dust and clean the nail with 99% isopropyl alcohol (Top Finish Cleanser).
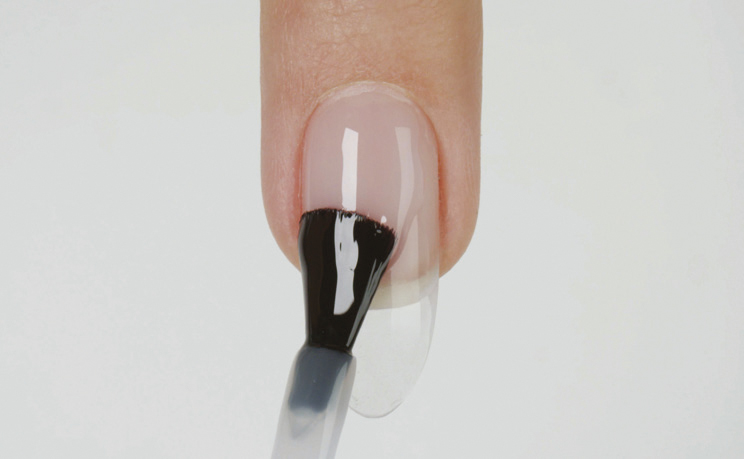
Step 6
APPLY CND™ PLEXIGEL TOP COAT
For sealing and protecting clear model layers or before applying CND™ VINYLUX™ Long Wear Polish.
1. Gently roll the bottle to mix the contents.
2. Apply one coat of CND™ PlexiGel Protector Top Coat to all five nails and also seal the free edge.
3. Cure for one minute in the CND™ LED lamp using button 3.

4. Lightly wipe the top coat with a lint-free pad soaked in 99% isopropyl alcohol (TopFinish Cleanser) to remove the sticky film.
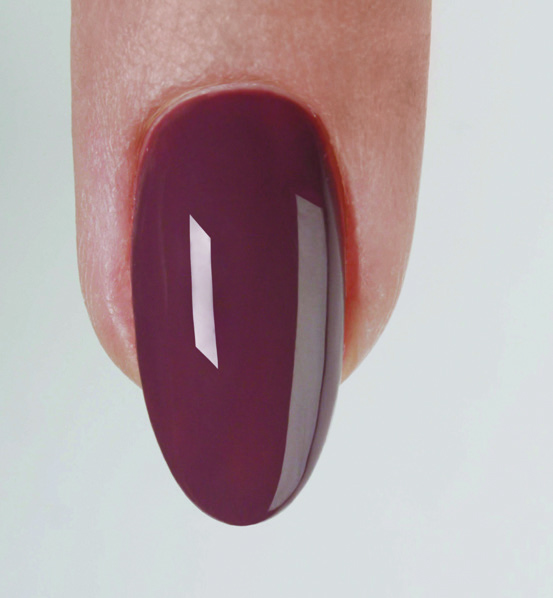
Step 7
ADD COLOUR (e.g. gel polish)
When using CND ™ SHELLAC™, skip both Protector Top Coat and CND™ SHELLAC™ Base Coat.
1. Shake CND™ SHELLAC™ vigorously to mix.
2. Apply two thin coats of colour to all five nails using the 5-Point Polish method.
3. Cure each layer for one minute in the CND™ LED lamp with the 2S key.
4. Apply one coat of CND™ SHELLAC™ Top Coat to all five nails.
5. Cure for one minute in the CND™ LED lamp using button 3.
6. Lightly wipe off sticky layer with a pad soaked in 99% isopropyl alcohol (Top Finish Cleanser).
7. Apply a drop of SolarOil™ to nourish the nail.
CND™ PRODUCTS REQUIRED
• COOLBLUE™
• OFFLY FAST™ Moisturizing Remover
• SCRUBFRESH™ Nail Surface Cleanser
• CND™ Files and buffers
• CND™ Forms
• CND PLEXIGEL™ Bonder
• CND PLEXIGEL™ Builder
• CND PLEXIGEL™ Protector Top Coat
MATERIALS REQUIRED
• CND™ LED Lamp
• Towel
• Soap
• Graham Pads
• Nagelbürste
• 99% Isopropyl Alcohol (TopFinish Cleanser)
• Cuticle pusher
• Cuticle clippers
• Nail clippers
• Curette
• E-File
Would you like to learn more about CND™?
At Insight Cosmetics Group, we have a variety of contact and training options available to you as a professional beauty therapist.
- Call us under (DK) +45 3332 3322.| (DE) +49 (0) 221 920 490 | (AT) +43 (0) 720 881 062 | (CH) +41 (0) 415 880 432 | (SE) 08-40 83 82 33 | (FI) 09 31579233
- Feel free to write us an email to info@icgroup.dk.
- Discover the free e-learning app and take part in one of our exciting CND™ e-learning training courses